Tutorials
Onboard your first members
Invite people, shape the onboarding flow, and get everyone current.
In this tutorial you will bring your first people into your space two ways (a shareable join link and a manual add), shape what a new member sees when they first open the app, and move everyone to current status. Work through it as a space admin; by the end you will have a repeatable way to grow your roster.
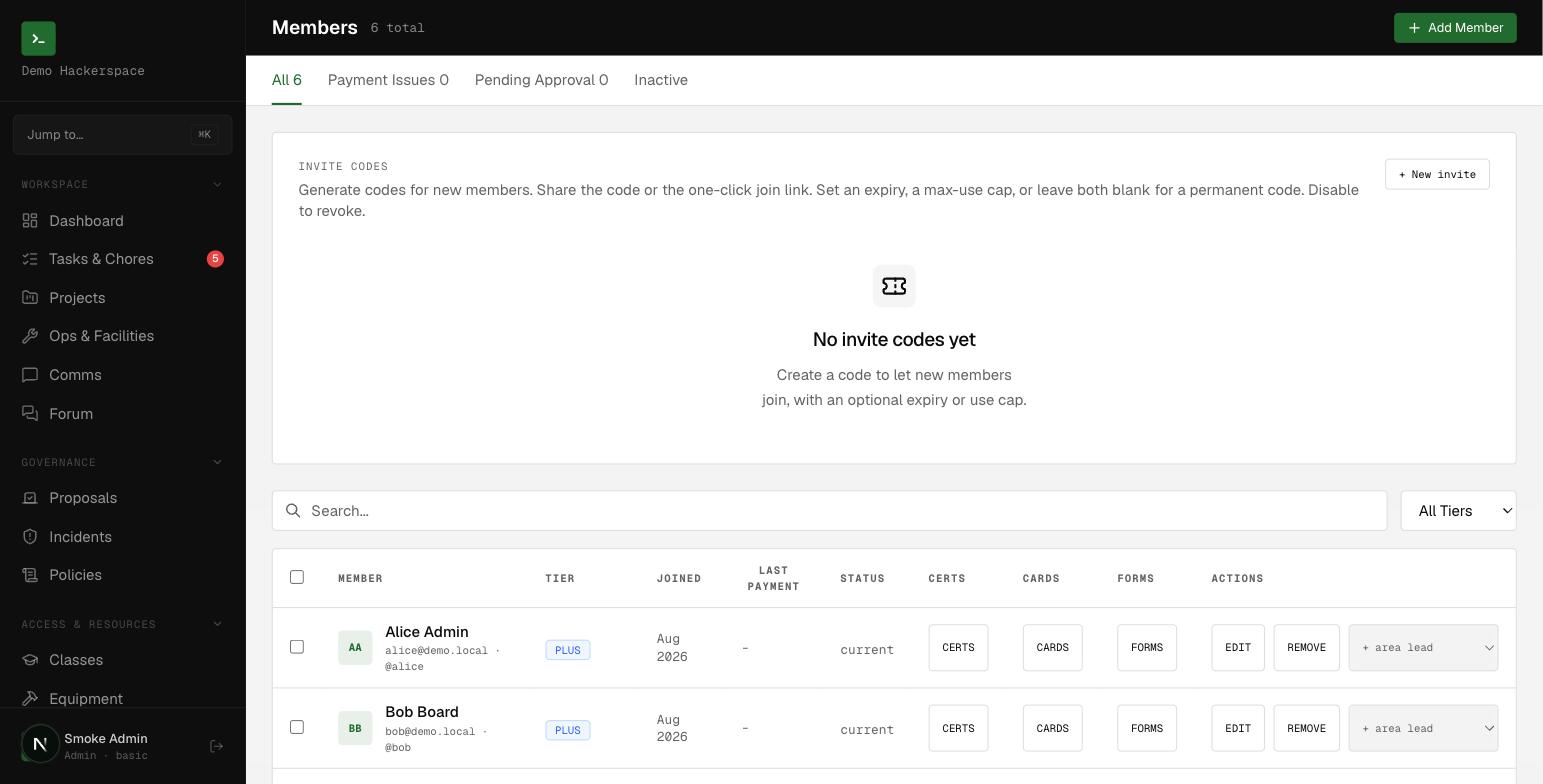 The Members screen, with the invite-codes panel above the member roster.
Before you start
You need the admin role (a board member can copy and share existing invite codes, but not create, disable, or delete them). Everything below happens on the /members screen and the onboarding card in /customize.
There are two ways in:
- Invite code / join link, people sign themselves up, then you approve them.
- Add member, you enter someone directly and they are active immediately.
You will use both.
Step 1: Create an invite code
- Open /members and find the Invite codes card.
- Click + New invite.
- Leave the code blank to auto-generate one, or type your own. Optionally set a Label, an expiry, and a Max uses cap. Leave both blank for a permanent code.
- Pick what the code grants, for new members, choose
member. - Tick Single use if the code should auto-disable after one join.
- Click Create invite.
Your code appears in the list with a grants member tag and a live use count.
Step 2: Share the join link
On the new code's row you have two buttons:
- Copy code, copies just the code (for people who will type it during signup).
- Copy link, copies the one-click join link, which looks like:
https://your-space.example/join/your-space?code=ABC23XYZ
Send the link. Whoever opens it lands on a Join page for your space, creates an account, and is added as a member with unverified status, waiting for your approval.
If a code is ever shared too widely, an admin can click Disable to revoke it, or Delete to remove it outright, both controls are admin-only.
Step 3: Approve people who joined
New self-serve joiners do not get in automatically.
- Back on /members, open the Pending Approval tab. Everyone who used your link is here.
- Click APPROVE on a row to move that member to
current. - To clear a batch at once, select the rows and click Approve selected.
Approving flips the member to current and marks them approved, so they count toward your active roster.
Step 4: Add a member manually
Some people you will enter yourself, a founding member, someone who paid at the door.
- On /members, click Add Member.
- Fill in Full Name and Email (both required). Phone and handle are optional.
- Choose a Tier (
Plus,Basic,Associate, orAdmin) and a Role (Member,Board,Treasurer, orAdmin). - Optionally set Joined At and tick Card Access.
- Click Add Member.
A manually added member starts at current immediately, no approval step needed.
Step 5: Shape the onboarding flow
Now decide what a member sees the first time they open the app.
- Go to /customize and find the New member onboarding card.
- Every new space starts with four built-in steps in order: Welcome, Code of Conduct (a required acknowledgement), Complete your profile, and Set up your dues.
- Edit any step's title inline, and its body where the step has one (body supports Markdown), the built-in Complete your profile step has only an editable title, no body. Change the order with the number box, and untick Enabled to hide a step.
- On the Set up your dues step, paste your Payment link so the member gets a working "Set up payment" button.
- Add your own with + Custom step, or use + Form step to make members sign a published form or waiver as part of onboarding.
Built-in steps can be disabled and reordered but not deleted. Only steps you mark Required block a member from finishing.
Step 6: See what the new member sees
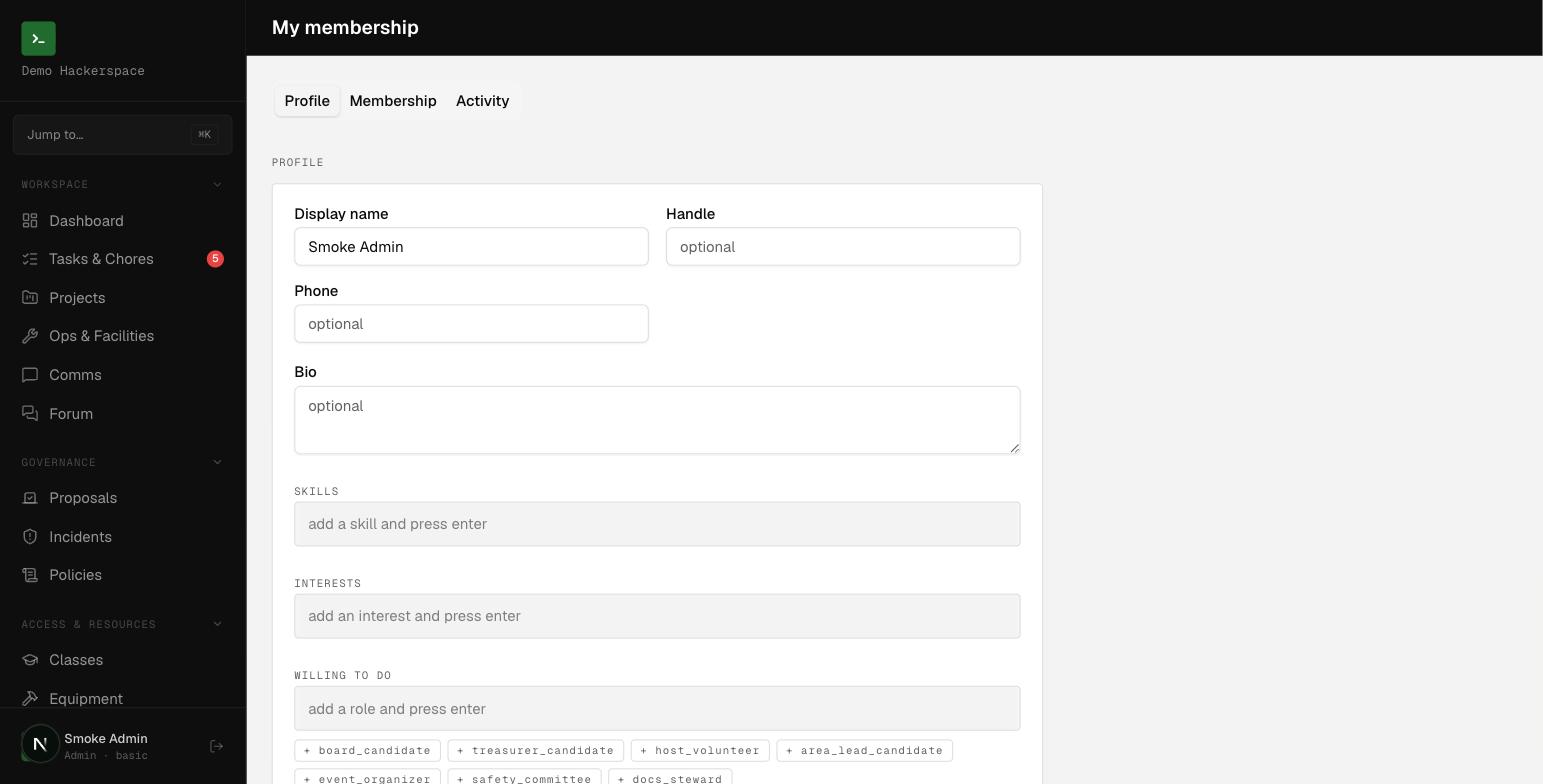 A member's own /me page, where they manage their profile, membership, and activity.
The first time an approved member opens the app they are routed to /onboarding and walk your enabled steps in order, a progress bar tracks Step X of Y. They must tick the code-of-conduct box and any other required step before the final Finish button lets them through to the /dashboard. If no step is required, a Skip for now link is available.
You are done
You now have members arriving two ways and a first-run flow that greets them. From here:
- Keep an eye on the Pending Approval and Payment Issues tabs on /members.
- Refine your onboarding copy and required steps in /customize as your space's norms settle.
Member statuses at a glance
| Status | Meaning |
|---|---|
current | Active member in good standing |
late | Active but behind on dues |
inactive | No longer participating |
unverified | Joined via a link, awaiting approval |